


Node.js user manual
In this guide, we will go through step by step how to install Node.js based software in your Tuonetti web host.
First, log in to the web host via the client page or with the credentials you have been given. Select the domain under which you want to install the Node.js software.
You can either transfer the files to the server as you wish or use our Git extension to download the software from a Git-compatible service. The Git manual can be found here.
Document Root
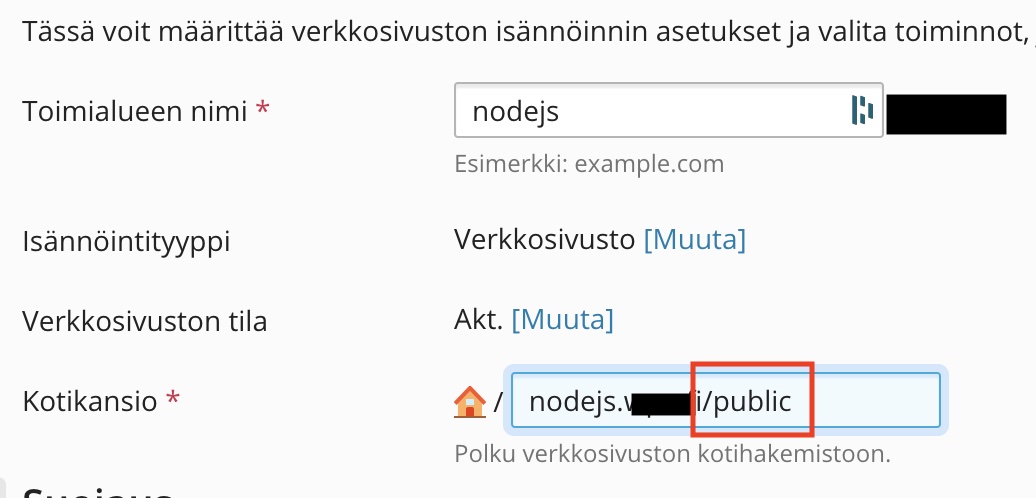
Since this is Node.js, the home folder is usually different from the file root folder. The home folder should be the one where the public files appear, often called the public folder.
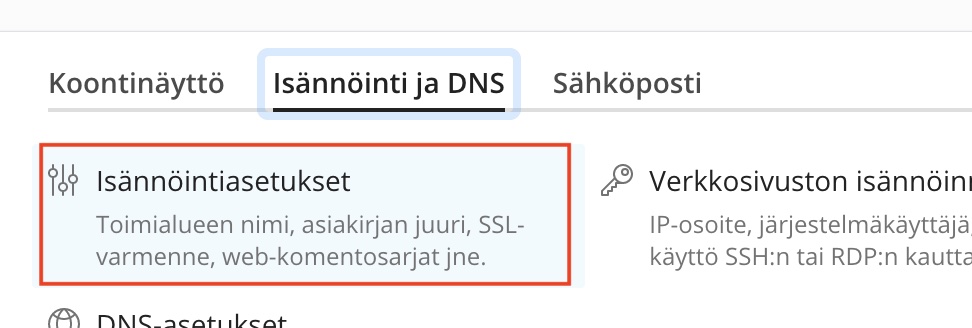
In the Plesk panel, open "Hosting and DNS" and click on "Hosting Settings".
Change the "Home Folder" so that it points to the correct folder, depending on the folder structure of your software.
Finally, click "Apply" and return to the web hosting administration.
Deploying Node.js
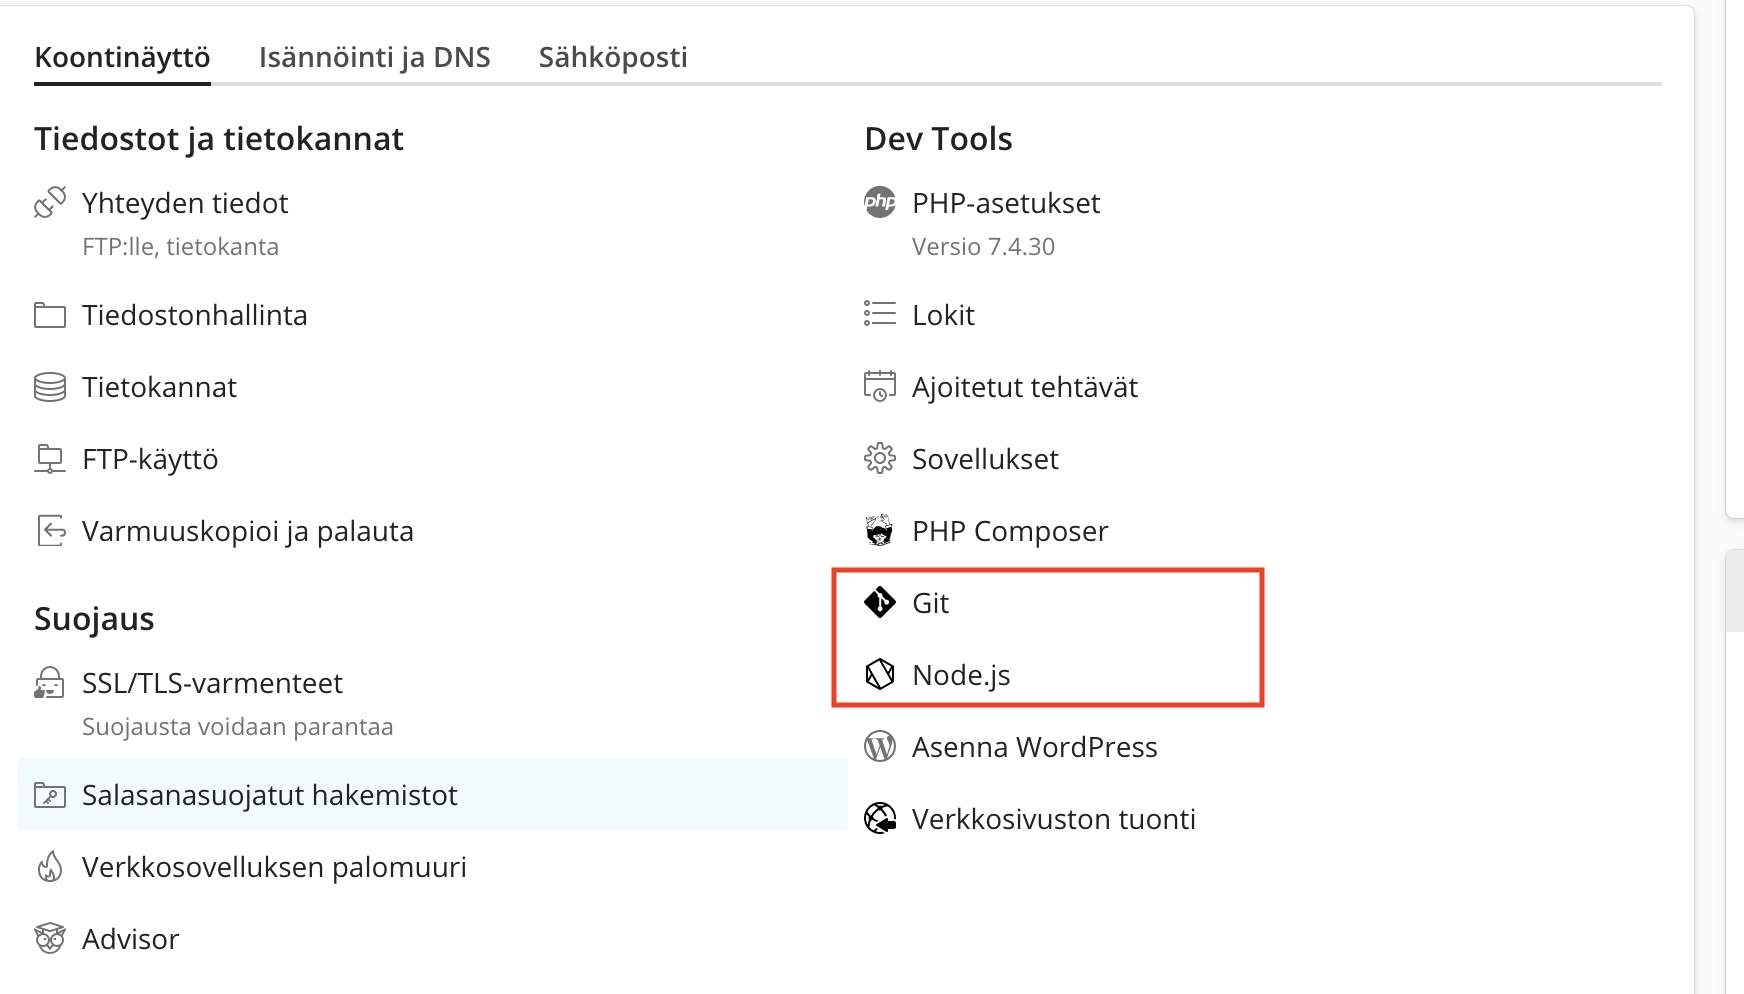
Select "Node.js" from the hosting admin panel.
At this point, check that the information matches the information in your application.
Click "Enable Node.js".
Visit the web application's address and check that the website is displayed correctly.
Installing dependencies
If your application uses npm installable dependencies, as many Node.js applications do, you can install these by clicking "Install NPM" in the Node.js view.

This will install the necessary dependencies according to the package.json file.
Other
From the Node.js settings page, you can also change the environment variables, as well as specify the application startup file.


