


WordPress Staging Environment
WordPress staging is a feature where an existing WordPress installation is made into a clone. The cloned environment can be freely modified and after making changes, the cloned environment can be migrated to WordPress. Staging therefore acts as a development environment where you can make changes before moving it to the public.
Plesk login:
- Go to https://asiakassivut.tuonetti.fi/
- Log in with your account
- Go to Services by clicking on the "Services" box in the home screen or by clicking on the "Services" button in the top navigation bar.
- Select the web hosting service you want to edit
- Click on the "Login to Plesk Control Panel" button on the screen.
WordPress Cloning
- In the control panel, click on the "WordPress" menu in the left sidebar.
- On the WordPress page you will see all your installations. Select the installation you want to edit.
- Under "Tools", click the "Clone" button.
- When a new window opens, fill in the information as you wish. If you have not changed your name servers and are using the default name servers then the tool will automatically activate the subdomain DNS records.
- Click the "Start" button to begin the installation. Wait a moment for the cloning to succeed.
- The cloning is complete and you can start making changes in the development platform. If you are using a subdomain for the development platform, you may have to wait a while for the DNS records to update.
Copying data from the development environment to the public page
Once you have made the necessary changes in the development environment and you want to transfer the changes to your "live" page, follow these steps.
- In the left sidebar, open the "WordPress" menu and select your staging installation.
- Under "Tools", click the "Copy Data" button.
- A new window will open where you can decide which installation you want to copy the data to. You can also decide whether to transfer all the data in the database. This feature is useful if there have been changes to your live website during development, such as e-commerce orders.
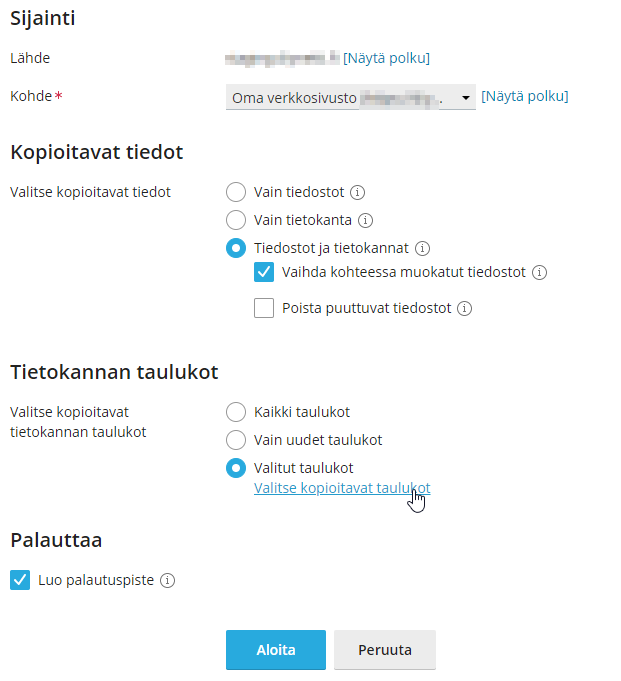
- Press "Start" once you have selected the settings you want. Copying will begin and you will see the progress on the next screen.
- Once the copy is complete, be sure to clear any caches of what you have installed on WordPress.


